How To Custom Build Your Own RO/DI Water Filtration System.
First, I like to thank Solar Panel Cleaning Friends Facebook Group. The group along with other cleaners helped us get started and motivated to cleaning panels properly, they have provided great advice and tips and recommendations. Filter the BS out and absorb the knowledge from the other great cleaners.
If you want to learn how to build your own Reverse Osmosis/Deionized Water Filtration System. I hope I can help you out. There are some YouTube videos that you can watch too. Many complete systems are out there from well-known companies such as Window Cleaning Resource (WCR), Tucker, CWC, Xero Pure can cost you from a low end with basic features on an RO/DI system costing you average of $1600, to the high end many thousands 6k+.
I was running straight Deionized Tanks that was purchased from RV-Mods to filter my water to clean solar panels, and after many cubic feet of replacements later, the costs were adding up fast. In my area our TDS (Total Dissolved Solids) is high, near 400’s. I range from 500-700 gallons a cubic foot before replacement on one cubic foot of resin.
Tired of replacing the resin for the deionized filtered water, I stumbled upon several good YouTube channels of custom build systems from simple to advanced systems. I had in my shopping cart many times that I almost pulled the trigger into buying an awesome system a 4 stage RO/DI system called the Little Solar Beast 12v from CWC. I loved it and the features it had on it too. It is battery operated, remote controlled, and variable speed controlled at a low price of $3,200+ not including the battery. In the end I purchase the 12v pump from them and decided to build my own version for under $1000 to include the battery.
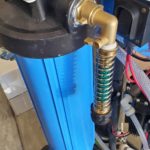
I will list attempt to list all the parts here so you can build you own too, and tweak what you want and don’t want. Your cost can be even less if you cut out parts you don’t want or find alternatives cheaper for yourself. After trial and error, swapping out fittings, I feel this setup is almost just about right, almost. A few changes I would still like adding a 90-degree angle from the carbon filter exit to the pump, but this works so far.
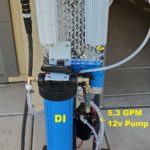
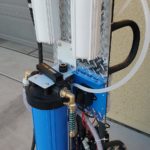
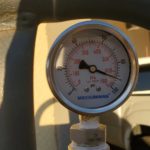
This build is a 4 stage RO/DI water filtration system with a 12v 5.3 GPM Booster Pump, Remote On/Off up to 400 feet, a variable speed controller, on/off kill switch, LED voltage meter, low voltage cutoff, lead cable for battery maintenance, Dual Inline TDS meter, Pressure Gauges for Carbon Filter and RO Membrane.
Below are the parts list. Many pictures that may not look the most beautiful, but its functional. Along with a video demonstrate in use.
the steps for this build
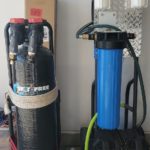
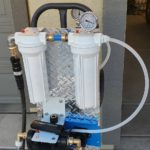
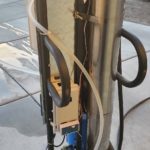
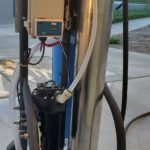
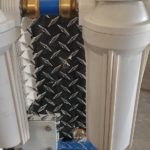
This is the current build; you do not have to build it exactly. This will give you almost a complete picture and breakdown of what was used. You can build a skid, box, rack or wall of your choosing, and remove and adjust pieces that work for you.
From the start of the system on the inlet side.
Quick connect attached to GHT shut off valve connected to double female GHT connected to ¾ NPT x GHT connected to 90-degree ¾ Male NPT x ¾ FNPT connected to the sediment filter housing inlet.
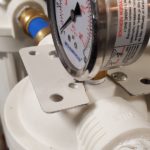
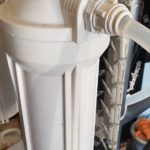
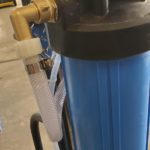
Sediment filter in the first housing. ¾ Shark bite MNPT x 3⁄4 push-to fit connector, using ¾ Sharkbite Tubing to another set of ¾ Shark Bite Push to Fit connector x ¾ MNPT to the inlet of the second Filter housing used for Carbon filter.
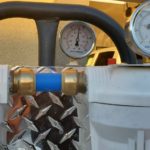
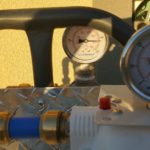
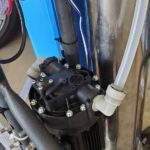
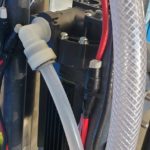
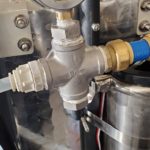
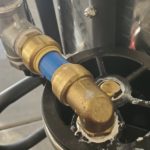
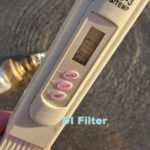
The outlet has Charlotte ¾ and the John Guest ½ Push to fit connector. Run ½ Tubing to the pump inlet and connect using the supplied Push to Fit Connectors. Connect the ½ tubing on the outlet end to the second set of Charlotte and John Guest Push to fit connectors that is connected to a 4-way ¾ inch fitting on one end as the inlet. Using the top end connect a ¾ x ¼ reducer and attach a 100 PSI gauge. The bottom connector connects another ¾ x ¼ reducer and attach a ¼ push to fit water compatible fitting to attach the first probe of the Dual TDS meter. The fourth ¾ on the 4-way fitting as the outlet, fit another ¾ MNPT SharkBite to ¾ Push-to-fit and connect a small ¾ PEX tubing to a 90-degree fitting Push-to-fit to ¾ MNPT fitting that connected to the outer inlet of the 4040 Membrane Vessel Housing. Use a ½” plug or other equivalent nut to close off the middle section on the top.
[Setup the 4040 Housing with the Membrane. Magic Lube all the rings and ends of the Stainless Housing, secure the clamps on both ends. Make sure the membrane is inserted in the correct direction for correct flow/filtration.]
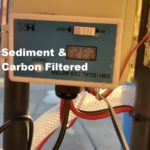
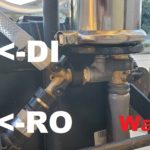
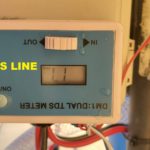
The bottom of the vessel, ½ coupler connected to ½ Tee fitting. One end connects a ½ x ¼ reducer and connects another set of ¼ NPT to ¼ push to fitting water fitting. Connect the second line of the Dual Line TDS meter for the TDS readings of the RO prior to the DI.
The other end of the ½ Tee Fitting connect a ½ MNPT x ¾ GHT. Connect a two-way GHT Splitter with shut off valve to give you the option to run DI or straight RO. I connected another quick connect to one end for RO only.
The Second valve connects a short ¾ Garden hose or custom fit Tubing to connect to the inlet of the DI Housing. The DI housing inlet has a 1” MNPT x ¾ GHT. Attached a 90-degree swivel GHT x GHT with shut off valve. Attach your ¾ Garden hose or custom fit Tubing for the inlet side.
[Set up your DI housing with the reusable DI housing insert filled with DI Resin (I purchased small batch from WCR). You can buy one pre-filled or buy your housing tube and resin separately and fill up yourself. Make sure you use Magic Lube on all the rings and rubber connections. Your DI housing is ready to be used and connected]
The outlet of the DI housing you will use another 1” to ¾ GHT with another 90 degree swivel GHT x GHT with shut off valve. I Attached a small flexible GHT extension, but it is not needed. I use it when I pull on my hoses for my peace of mind. Lastly, I add another Garden Hose quick connect to the end.
Add a waste line using a Garden hose or other drain line of your choosing to drain away from your system.
Your RODI system is pretty much done, just need to connect the electrical. Another option you could do is do a dual Membrane and skip the Booster Pump for more flow, or even a Dual Membrane and booster pump. You have the gist of it, configure how you want.
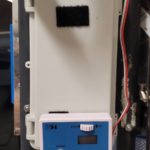
Attaching the electrical is as simple and using an on/off switch with a fuse attached inline attached to a 12v source.
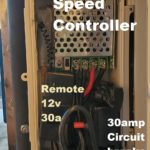
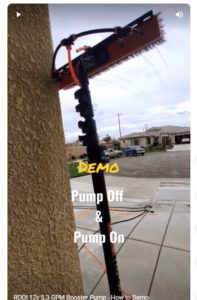
My setup for example is 12v Marine Deep Cycle battery(i purchased mine from O’Reilly’s, but you can use the one from Walmart or other battery source of your choosing) connected to the 12v switch that came with the pump or use your own switch that will be connected to the 12v 30amp circuit breaker (you can use a inline fuse and fuse holder, I have always liked circuit breakers when I use to do car stereo installs) that will be connected to the 12v 30amp low voltage regulator, connected to the Remote control (This remote claims 300+ feet, which is plenty for my needs, the Solar beast claims 500+ feet and another builder claims 1000+ feet. Find longer range if you need a longer range) I demonstrate range test on a short clip below of turning it on and off across the Cul-de-sac, we have wide streets actual feet test has not been tested, but I can do one and show it if requested. Connecting the Remote control to the Adjustable Speed Controller which is then connected to the 5.3 GPM Booster Pump.
Other optional equipment used was already attaching the cables for the 12v battery Maintainer/charger for easy access and to charge of course. Added a LED voltage meter with On/Off Switch for quick visual of current voltage. Safety Cones for any hoses that may be laying across the sidewalk.
All threaded connections were Pipe Sealed with the T Plus 2 to minimize leaks. Just wipe off the excess to give a cleaner appearance. All filter housings and rubber rings were lubed with Magic Lube. I have read people using other alternatives. Magic Lube was priced fairly and went that route.
the parts list for your RO/DI
- 4040 Commercial RO Membrane Housing
- 4040 Commercial RO Membrane
- Sediment Housing 10 x 2.5
- Sediment Filters 10 x 2.5 (4 pack)
- Carbon Filter Housing 10x 2.5
- Carbon Filters 10 x 2.5 (4 Pack)
- DI Resin Housing 20 x 4.5
- Reusable Empty DI Filter Cartridge
- 60 PSI Pressure Gauge
- 100 PSI Pressure Gauge
- Dual TDS In-line Monitor
- 12v Size 24 Deep Cycle Marine Battery
- Battery Case
- Black+Decker Fully Automatic Battery Charger/Maintainer
- 12 volt Voltage Meter
- On/Off Toogle Switch
- 12 volt 30 amp Low Voltage Disconnect
- 30 Amp Circuit Breaker
- Wireless Remote Long Range
- Speed Controller
- Waterproof Electrical Junction Box
- 10 AWG 25ft
- Hose Extension
- 90 degree Garden Hose Elbow w/ shut off valve
- 90 degree elbow 3/4″ MNPT to 3/4″ FNPT
- Garden Hose Quick Connects (6 Sets)
- 1 inch NPT to 3/4 GHT (2 Pack)
- Garden Hose Splitter Two Way
- Garden Hose Shut Off Valve (2 piece)
- 1/2″ x 1/2″ MNPT Pipe Fitting
- Dual Swivel GH Connector
- 3/4″ Push to Connect x 3/4″ MNPT 90 Deg Sharkbite Pex Connector
- 3/4″ GHT x 3/4″ MNPT (2PC)
- 3/4″ MNPT to 1/4 FNPT Reducer
- 1/2″ MNPT to 1/4″ FNPT Reducer
- 1/4″ TUBE OD x 1/4″ MNPT 90 Deg Swivel (Pack of 5)
- 3/4″ NPT to Push-to-Connect PEX Fitting (2PC)
- 3/4″ MNPT to 3/4″ Push-to-Connect Sharkbite PEX Fitting
- 4 Way 3/4″ x 3/4″ x 3/4″ x 3/4 ” FNPT Fitting (2PC)
- 1/2″ T Shape 3-way Fitting (2pc)
- 1/2″ MNPT x 3/4 GHT Fitting
- 1/2 MNPT Plug
- Pure Water Power 12v Booster Pump Kit
- Charlotte Pipe 3/4″ x 1/2″ Reducer
- John Guest 1/2″ OD x 1/2″ MIP NPTF Push to Connect Adapter
- T Plus 2 Thread Sealant
- SharkBite 3/4″ x 10′ Blue PEX-B Pipe
- Ez-Flo 3/4″ ID x 10′ Reinforced PVC Clear Braided Vinyl Tubing
- Ez-Flo 3/8″ ID 1/2 OD x 25′ Polyethylene White Clear Vinyl Tubing 100 PSI Rating
- Flexilla 3′ of 5/8 Garden Lead-in hose
- Magic Lube gasket Grease
- 5.3 GPM Booster Pump Kit
- 12″ Collapsible Safety Cones
Photo Gallery of RO/DI
Video Demonstrations of RO/DI
This page contains some affiliate links, meaning I get a commission if you decide to make a purchase through my links, at no cost to you.

